Trying to escape their container are your roots? Are the leaves becoming top-heavy, or both? You can properly repot your orchid with the help of these crucial suggestions.
Your orchid is not only alive, but it is also thriving and has outgrown the plastic pot that you brought it home from the grocery store. The arduous task of repotting your orchid must now be accomplished. But don’t worry; we have some advice to ensure that you can successfully move it to its new location.
Materials You’ll Need
- New pot for your orchid (choose one that’s 1 to 2 inches larger in diameter than the current pot)
- Potting mix
- Large bucket or bowl
- Scissors
How to Repot An Orchid?
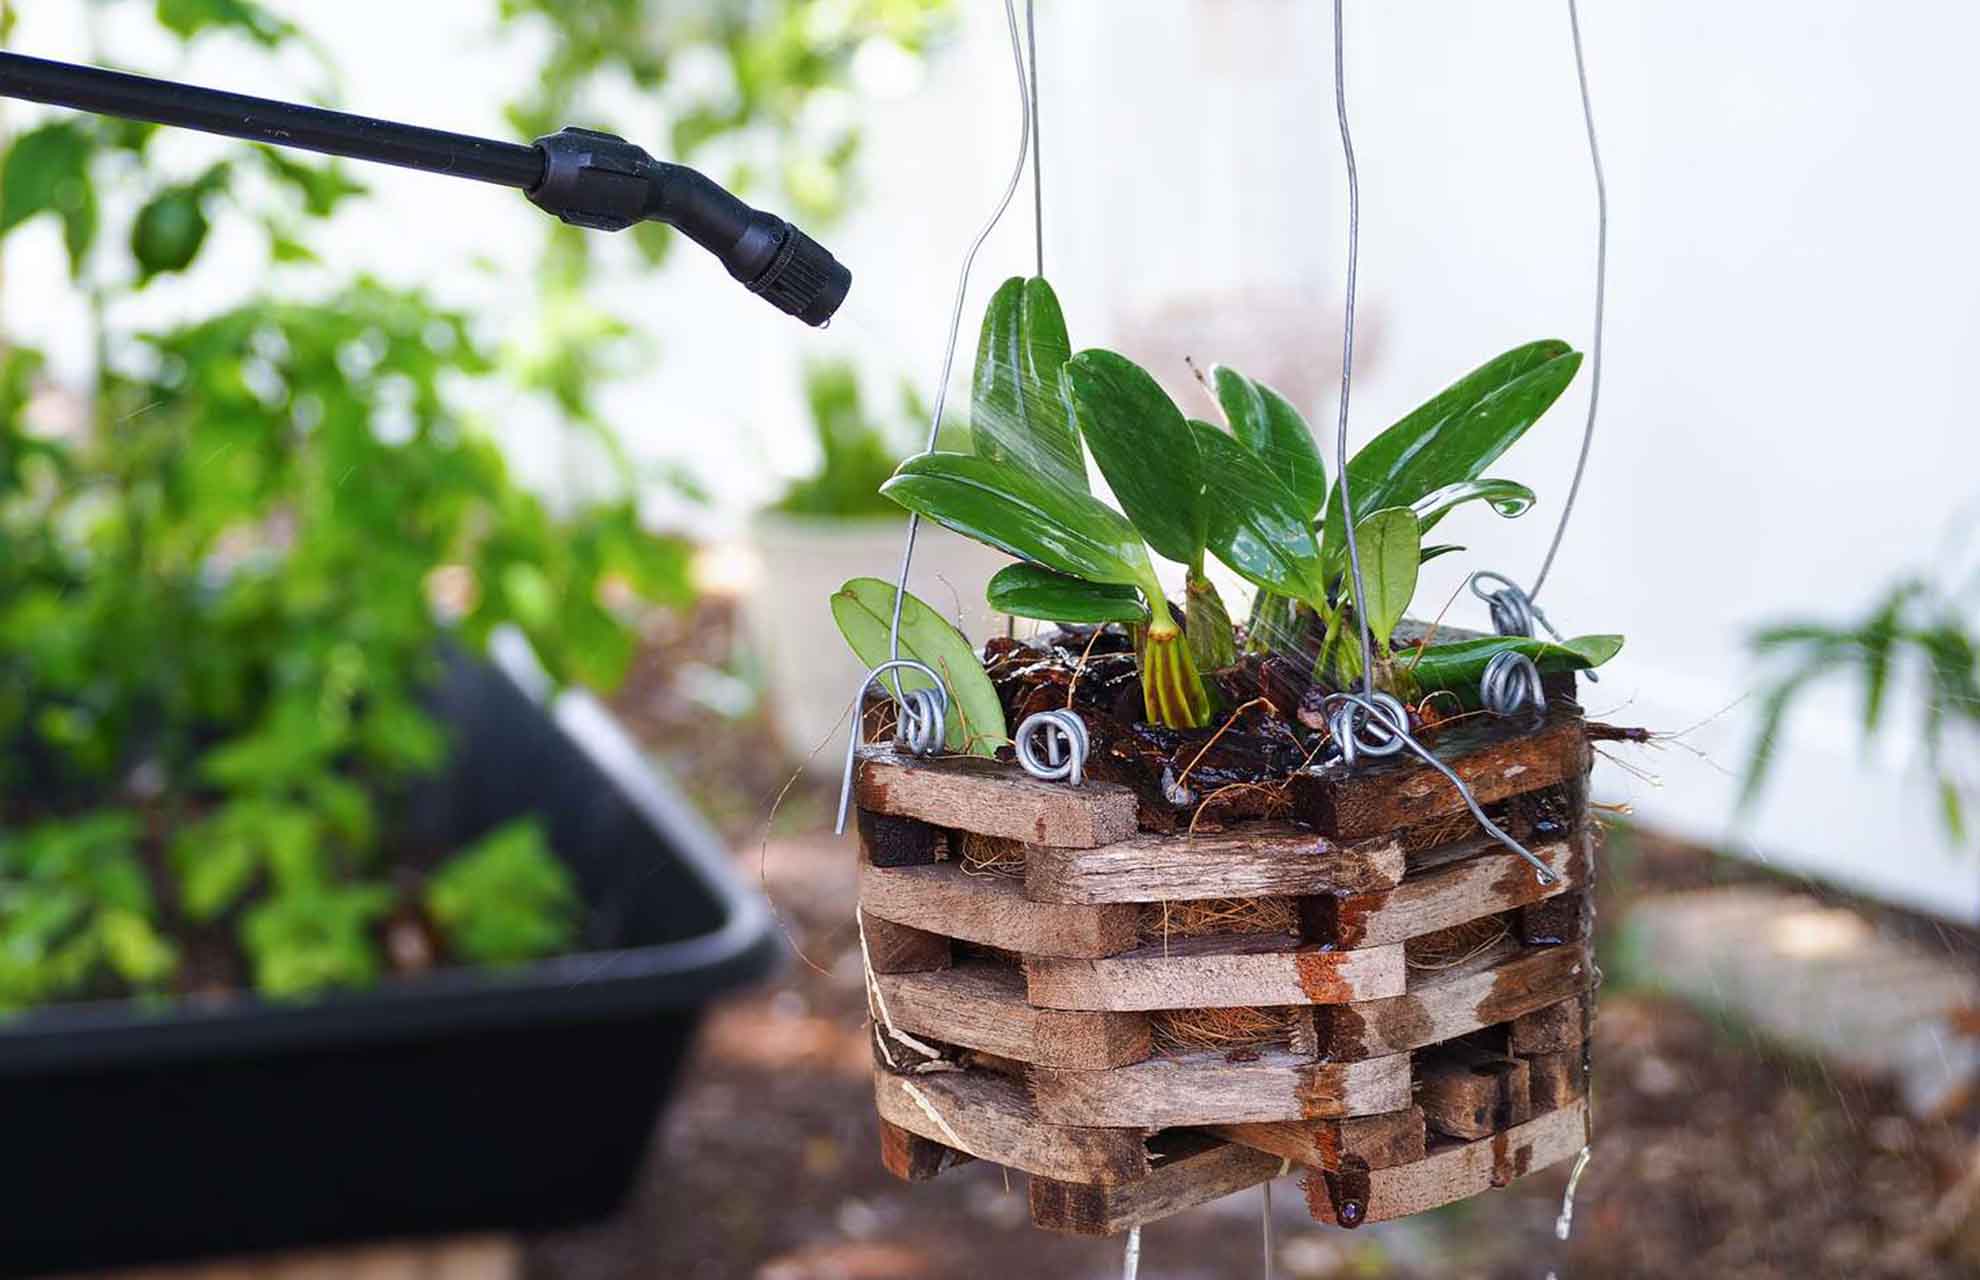
Water your orchid thoroughly before moving it to help it withstand any stress from the transition. Then follow these steps:
Step 1: Prepare Your Materials
You should fill the large bowl or bucket with about twice as much boiling water as potting mix, depending on how much you will be using. Drain the potting mix after allowing the mixture to reach room temperature.
Because orchids are prone to disease as well, make sure to sterilize anything that will come into contact with your plant during the repotting process.
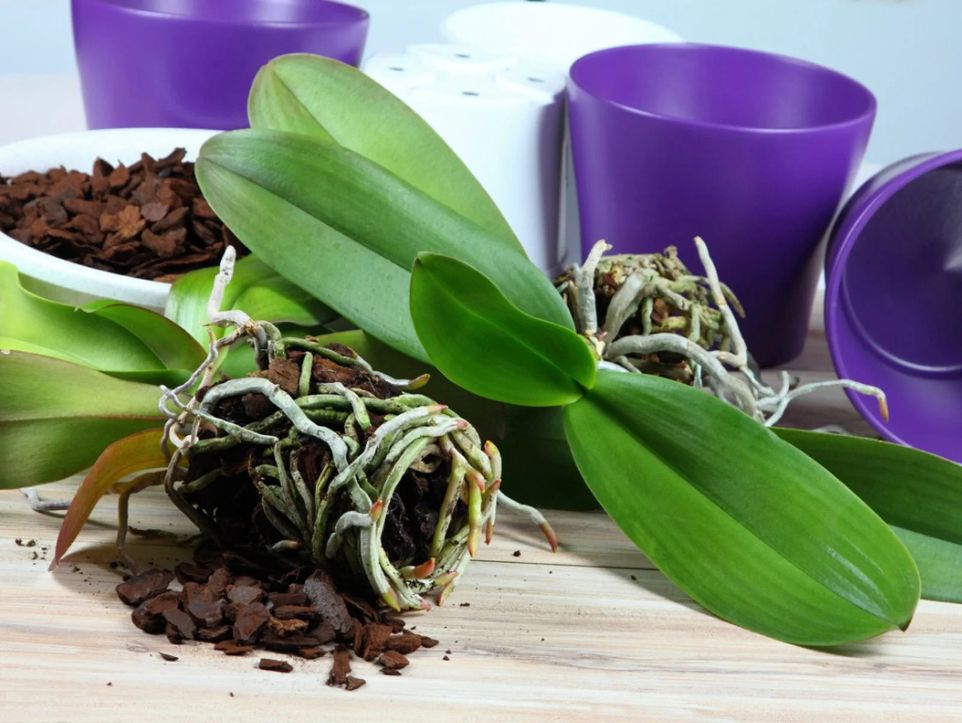
Step 2: Remove the Orchid from Its Current Pot
Use scissors or a knife to assist you as you slowly loosen each root individually.
Step 3: Clean Up the Roots
Use scissors or a knife to assist you as you slowly loosen each root individually.
Step 3: Clean Up the Roots
Put the orchid in the pot so that the new growth is level with the pot’s top.
Step 5: Add Potting Mix
Using your fingers or a chopstick, gently press the potting medium into the roots as you gradually add more. When you’ve reached the top of the pot, keep adding potting mix.
Step 6: Stake Your Orchid
Maintain the same level of care for your orchid once it has adjusted to its new environment.
How Do I Know When It’s Time to Repot My Orchid?
When to repot orchids is crucial to their success. There are three main indicators that your orchid needs to be replanted.
First, if it’s growing out of its container, you may see white roots popping out between the spaces in the container. This is unmistakable evidence that your plant has outgrown its container.
The other reason for orchid repotting is when the potting medium begins to break down. The very chunky medium that orchids grow in won’t drain as well when it is broken down into smaller pieces. To give the roots of your orchids the air they require, replace the medium.
You may be interested in why Orchid Leaves Turning Yellow and How To Treat Black Spots On Orchid Leaves.
Choosing the best time of year for the plant is the other half of understanding when to repot orchids. Repot your cattleya or other orchids as soon as the flowers fade and before the roots start to take hold if you have one of these plants. For all other orchids, you can repot them whenever you’d like, though generally speaking, it’s not a good idea to disturb the plant while it’s in bloom.
The third reason is that it’s been a while since you’ve repotted. Fresh potting soil is required for orchids about once a year. In addition to continuing to give plants the best nutrients, this also promotes healthy air circulation. Not replacing the soil can cause it to retain more water, which can cause root rot and make your orchid more susceptible to fungi.