
Find out how to grow new plants using a surprising natural hormone substitute, as well as how to propagate your rosemary from cuttings.
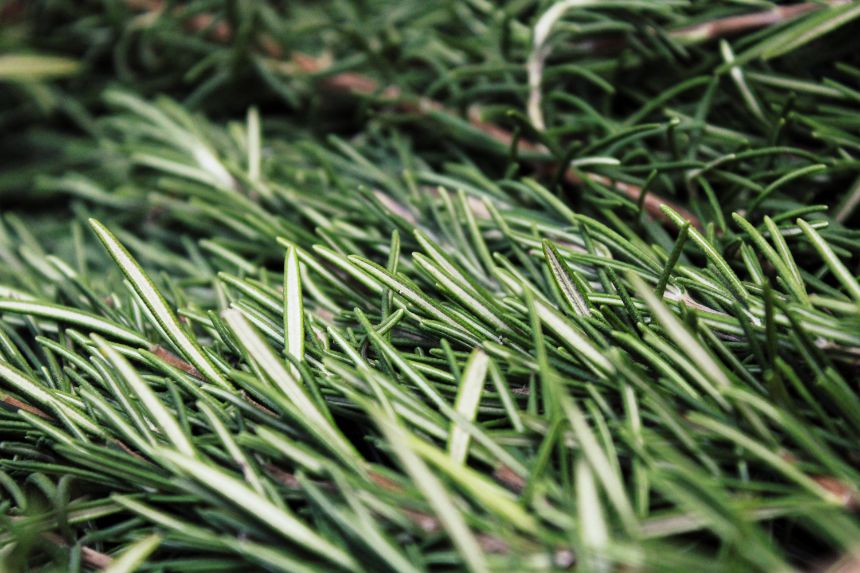
Rosemary is a very well-liked herb that is renowned for its unique flavor, capacity to improve the flavor of many foods, and potent aroma. Due to its ease of cultivation and low maintenance needs, it is also a prevalent herb for home gardens.
Without purchasing another plant, it is simple to grow more rosemary. Only cuttings of the variety you want to grow will do. Here are the steps.
How to Grow Rosemary from a Cutting?
Gather Your Supplies
- Secateurs
- Seed-raising mix
- Mini propagator with cell growing tray
- Rooting hormone
- Multicrop Plant Starter
- Watering can
- Spray bottle
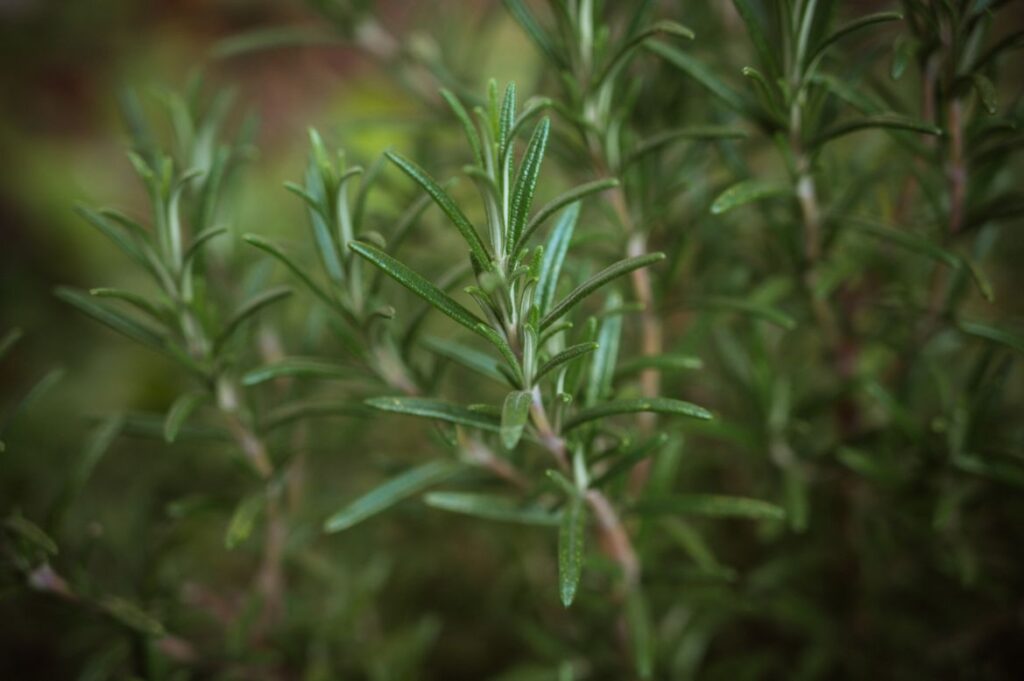
Step 1: Select New Shoots from the Mother Plant
Select stems with healthy growth. Younger shoots will have flexible, green stems. Keep away from older, brown, woody stems.
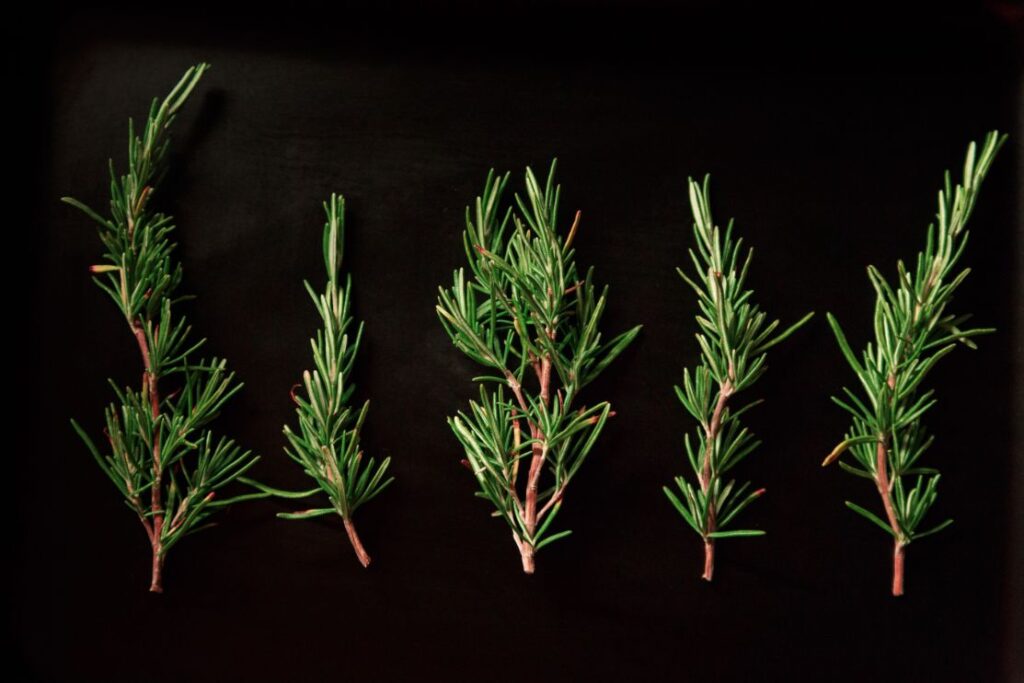
Step 2: Take Stem Cuttings
Snip the stem of the rosemary about 5 to 6 inches back from a new growing tip using sharp scissors. In case some stems fail to take root, cut plenty of extra stems.
Step 3: Strip the Lower Leaves
The lower 2 inches of the rosemary cutting needles should be gently stripped off by wrapping your fingers around the stem.
Step 3: Remove the Foliage
After you’ve cut your cuttings, the next step is to cleanly cut away the foliage from the bottom half of the cutting. Remove the bottom two or three inches of leaves for longer cuttings. Take care to remove these without damaging any of the stem’s components.
Make sure there are at least two inches of leaves at the cutting’s top. Photosynthesis, which provides the plant with enough energy to form roots, depends on these leaves. The roots cannot develop without these leaves.
To make the nodes visible where the roots will grow, the leaves must be taken off. Additionally, this stops the leaves from rotting underground and luring disease. In the end, the cutting’s exposed areas will be buried beneath the ground.
Remove any blooms that are finished blooming or are still in the cutting at this time. These drain the cutting’s energy, which could be put to better use growing roots. For the healthiest possible cutting, you can also use this time to remove any damaged leaves.
Step 4: Dip in Rooting Hormone
In softwood cuttings, the rooting hormone is a powder that promotes the growth of roots. It is specially formulated to assist the plant in developing the strongest roots possible while preventing issues with the bacterial or fungal disease over the open wound exposed to the soil.
When propagating, the rooting hormone is not absolutely required. Without this help, softwood rosemary cuttings frequently take root. But it increases the likelihood of rooting significantly.
You don’t want the propagation process to fail after all the effort you put into it. Even if it only improves your chances of success, taking the extra step is worthwhile.
Take the cuttings, wet the ends with water, and then dust them with the powder containing the rooting hormone. In order to avoid contaminating the bottle with bacteria and disease, always transfer a small amount from the container into another bowl before dipping.
For the same reason, you should never pour extra rooting hormone back into the jar; instead, you should always discard it.
Step 5: Root
The simple part is now at hand: rooting. You have two options here. The cuttings can either be planted directly into the soil or rooted in water.
- Rooting in water
Simply place the cuttings into a glass that is half-filled with water to begin the rooting process. Lean the cuttings against the side of the glass to prevent them from falling into the water. Only the exposed portion of the cutting should be submerged in water. To avoid rotting, all vegetation must be kept out of the water.
Consider purchasing a plant propagation station to incorporate growing new plants into your home’s decor for a more stylish alternative.
For the best results, root your cuttings in filtered water. Numerous chemicals found in tap water have the potential to stunt the growth of cuttings that are more delicate. You can always boil some water in a kettle and let it cool before planting if you don’t have access to filtered water.
To avoid shock and encourage growth, the water should be at room temperature rather than ice cold. A little warm water is also excellent, just make sure it’s not too hot or the stem will get burned.
When it becomes cloudy, frequently change the water to keep it clean. As the water evaporates, you’ll also need to refill the glass. Simply keep an eye on the roots for the time being.
Remove any stems from the glass that have not developed roots after a few weeks in order to prevent the decaying stems from affecting the growth of the other cuttings.
When the roots have expanded to a depth of several inches, the cuttings are prepared to be planted in the soil. They can be placed directly into the garden or planted separately in pots to grow more.
- Rooting in soil
The cuttings can also be planted directly into the ground. Although the ability to observe the roots’ growth is lost, the strength of the root growth is significantly increased. Cuttings transplanted from water may struggle to establish because of shock, whereas cuttings transplanted from the soil will already be accustomed to the conditions.
The chances of success when transplanting are greatly increased if you wait for the cuttings to grow and establish in a pot for a number of months.
Make a propagation mix first. We used a mixture of half sand and half coconut coir. The coconut coir is a light mix that improves drainage, and aeration and strengthens root growth.
Sand also enhances drainage and more accurately mimics the conditions in which the cutting will be when it is replanted. Additionally, these materials don’t contain many nutrients, which is crucial for the development of young, weak roots.
This mixture should be used along with water to completely moisten a pot. Before planting, let all of the water drains from the drainage holes. Compact the mix firmly by applying pressure.
With a skewer, poke a few holes in the ground where your cuttings will be planted. Your cuttings should be inserted into these holes and buried until the first set of leaves is just visible above the soil line. In order to secure the cutting, apply pressure where necessary.
A few skewers should be used, and they should be placed around the pot’s edge. Put a clear plastic bag, such as a sandwich bag, over the entire pot at that point. By erecting a miniature greenhouse, raises the relative humidity around the cuttings, providing the ideal conditions for root development.
Keep the pot in a warm location out of the sun. Keep the soil moist as the plant grows. You’ll know the cuttings have started to form roots when new growth becomes apparent and they begin to fend off attempts to remove them from the ground.
How to Care for Rosemary Plants?
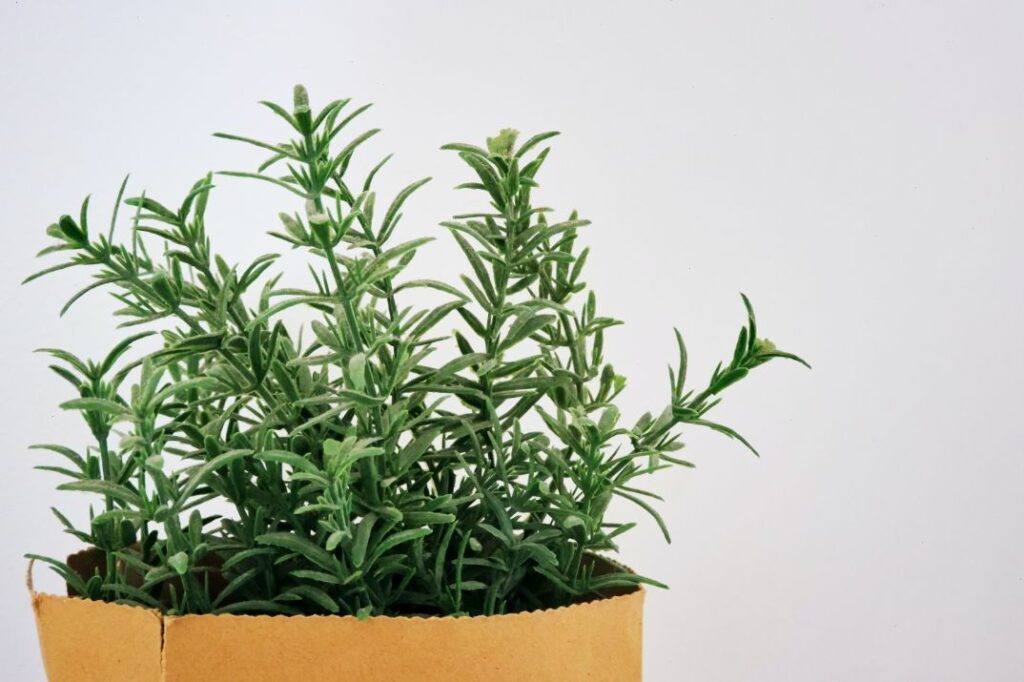
Once it is established and growing, rosemary is a fairly hardy plant. Here are some tips to keep your plant healthy and producing:
- Grow in a sunny location. In the summer, rosemary needs 6 to 8 hours of direct sunlight to flourish.
- As soon as the soil feels dry, water it. Once established, rosemary prefers to remain dry. Between waterings, let the top inch of the soil dry out.
- Repot the plant as it grows and the roots fill the pot. A rosemary plant in a container can grow to a height of one to three feet. When the roots fill the pot, simply keep transplant them to a bigger container.
- Regularly prune rosemary. Trimming causes the plant to become bushier. After the plant has flowered, prune it to keep it compact.
Tips for Growing Rosemary Indoors in Winter
Rosemary prefers a hot, sunny, and humid climate because it is native to Mediterranean climates. Here are some tips for keeping your rosemary plants alive indoors during winter:
- Quarantine: If you have indoor plants, it is a good idea to quarantine your rosemary plants when you bring them inside. For a while, keep the plants apart to make sure there are no hitchhikers, pests, or diseases.
- Light: Place your rosemary plants in a sunny south-facing window. As an alternative, grow lights can be used to keep your plants content during the winter.
- Water: Maintain a consistent moisture level throughout the potting mix. Overwatering will make the plant rot. The plant will shrivel and die if the soil is overly dry. Water when the soil starts to feel dry at the surface and let the extra moisture drain.
- Temperature: In the winter, Rosemary prefers a little bit of a chill. Away from heaters and wood stoves, keep the plants. The ideal temperature ranges between 60 and 65 degrees.
- Humidity: Although winter heating keeps us warm, it also removes moisture from the air and lowers the humidity. To make up for it, increase the humidity around your plant by misting it frequently, using a humidifier, or setting it on a tray of pebbles and water.
- Pests and Diseases: Red spider mites, aphids, spittlebugs, and whiteflies are typical pests of indoor rosemary plants. These pests feed on the plants, causing the foliage to wilt and dry out. Regularly check your rosemary plants for pests and treat them with organic insecticidal soap. Mold, powdery mildew, and root rot are all diseases that are brought on by excess moisture and poor airflow. Between waterings, allow the top inch of soil to dry out, and then water thoroughly, allowing extra water to drain out of the bottom of the pot. To increase the flow of air around your plants, turn on a fan.
Summary: Grow Rosemary at Home
In conclusion, rosemary is an excellent herb to try growing from cuttings. To propagate your rosemary, you can follow these steps:
- Get a hold of some rosemary (either from an existing plant or from your grocery store)
- Strip off leaves from each stem’s bottom 2″
- Dip the stem in a growth hormone and plant in potting soil (optional – see step 4 for the alternative option)
- Place the stem in a glass of water for a few weeks until mature roots have grown before planting
- Store the stem and pot in a humid climate and water occasionally for 6-8 weeks
- Maintain your fresh rosemary plant!
Growing your own rosemary plants from cuttings has a ton of advantages. Rosemary is not only a fragrant garnish to cook with, but the herb has plenty of other purposes.
Any craft table would benefit from having dried rosemary, whether it is dried naturally or dried in the oven. When used as the finishing touch on a gift or to style a table setting, it looks lovely. Making lovely natural soaps with rosemary is another option.